Installing on Mac OS X
This section describes how to install MFT Server on a MAC OS X system using the installer file downloaded from the JSCAPE website.
Before installing MFT Server, you must create a database that will serve as the MFT Server backend database. See Databases for a list of supported database types.
If you are running MFT Server in a high availability (HA) environment, review this information before installing the product - Configuring a centralized global datastore.
-
Download and run the
install.dmginstallation file for MFT Server. ClickNextto continue.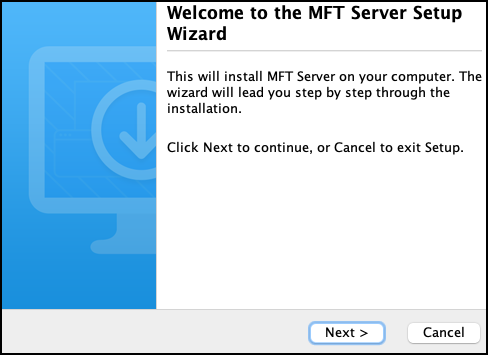
-
Read and accept license agreement. Click
Nextto continue.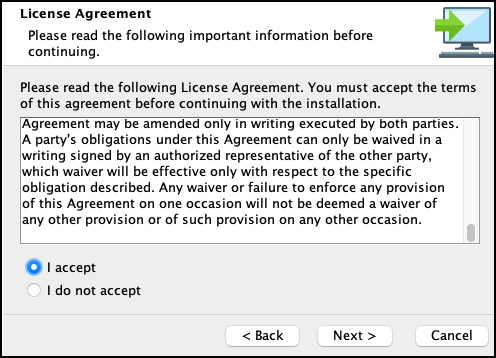
-
Select installation directory. Click
Nextto continue.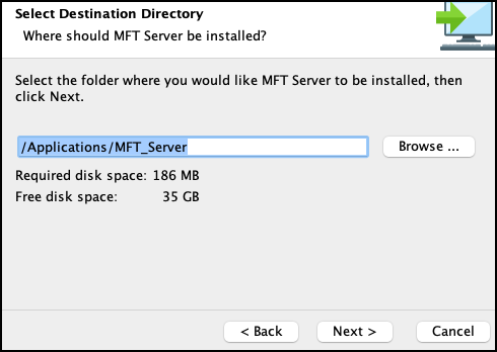
-
Enter the MFT Server license file. Click
Nextto continue.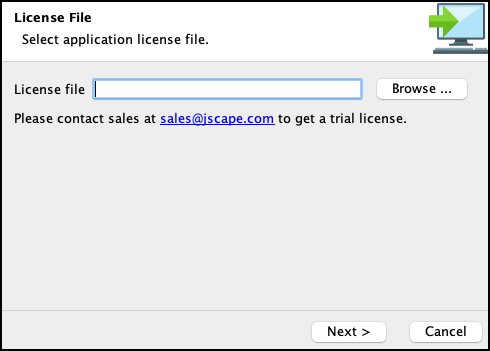
-
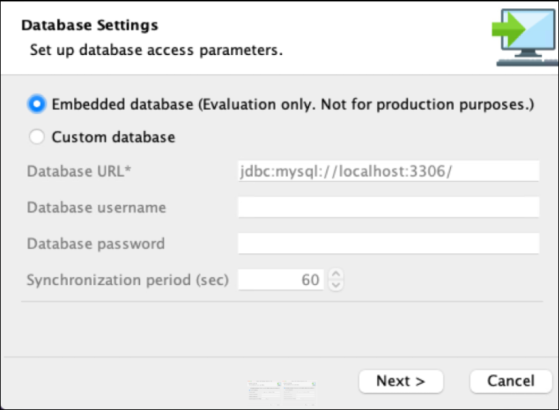
Configure datastore where server configuration data will be located.
Embedded database — If this option is selected, server configuration data will be stored locally in the embedded H2 database located in [MFT Server installation directory]/data. As a reminder, this database should be used for evaluation purposes where the test load is not expected to be heavy.
Custom database — If this option is selected, server configuration data will be stored in an external database.
The Custom database fields are described below:
-
Database URL — Identifies the URL of the relational database (e.g. jdbc:mysql://localhost:3306/mftserverconfig).
-
Database username — Identifies the name of an existing user account that has sufficient permissions for the database.
-
Database password — Identifies the corresponding password of the user account.
-
Synchronization period — Specifies how often GUI data is synchronized with the database. This is normally needed when you have 2 or more instances of MFT Server connecting to a shared global datastore and you want to specify how often the configuration data on those servers are synchronized.
Click
Nextto continue. -
-
Configure management/REST services and administrative credentials.
The
Managementoption is used to provide programmatic access to MFT Server using theJava Management API. Historically, the MFT Server Manager UI was written using the Java Management API. The UI was rewritten using the REST API. Although the user interface written using the Java Management API has been retired, the ability to access MFT Server using the Java Management API is still supported.The
RESTservice is used when accessing the MFT Server Manager web-based user interface, and to programmatically configure MFT Server using the REST API. The MFT Server Manager was written using the REST API. The MFT Server Manager is the interface used to manage all aspects of MFT Server, like creating services, Users, Trading Partners, and configuring settings.The
UsernameandPasswordare used to access the Java Management API, the REST API, and the MFT Server Manager web-based user interface. For example, when you access the MFT Server Manager, you are prompted to log in. The credentials you enter in the installation dialog below are what you will use to log in to the MFT Server Manager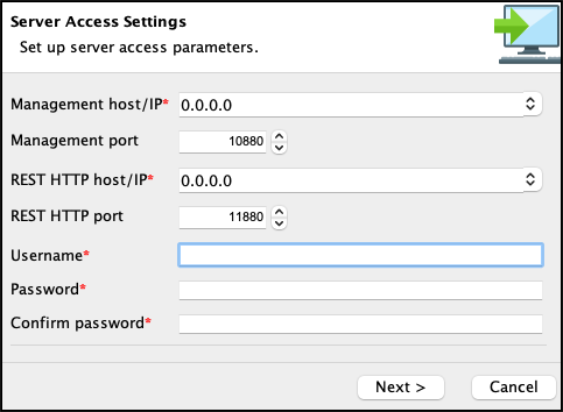
-
Management host/IP — The IP address that management service should listen on. The IP address
0.0.0.0is a special address that instructs service to listen on all available network interfaces. -
Management port — The port that management service should listen on. Default port is 10880.
Note: If you do not plan on using Java API calls, you can disable the host and port (after the installation) by accessing the MFT Server Manager, then navigating toSettings > MANAGER SERVICE > Manager Service. Uncheck theEnable Manager Servicecheckbox. -
REST HTTP host/IP — The IP address that REST web service should listen on. The IP address
0.0.0.0is a special address that instructs service to listen on all available network interfaces. -
REST HTTP port — The port that REST web service should listen on. Default port is 11880.
-
Username — Administrative username for managing services.
-
Password — Administrative password for managing services.
Click
Nextto continue. -
-
Set allocated application memory. Minimum allocated memory is 1024 with recommended value of 2048 MB or more for servers under heavy load. Click
Nextto continue.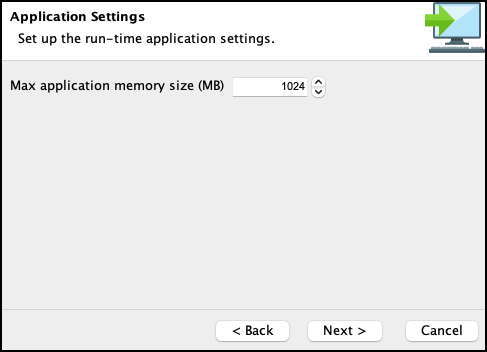
-
Click
Finish. Launch the MFT Server Manager to configure your server.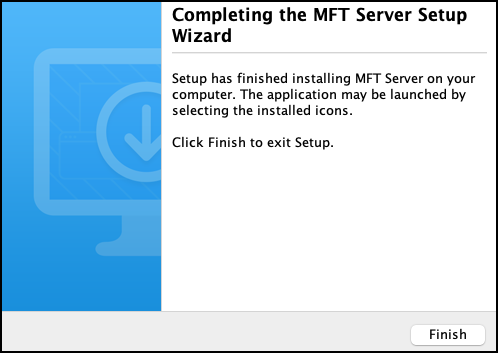
-
Start the MFT Server Service. The service will start automatically following installation. If the service is not started then you may start it manually as
rootuser using the./start_service.shcommand from a terminal shell prompt.In order to have service start automatically upon system reboot edit the
/Library/LaunchDaemons/com.jscape.MFTServer.plistfile and set the value for theOnDemandparameter tofalse. -
Verify that MFT Server Service is running using the following commands from your shell prompt:
netstat -a | grep 10880
netstat -a | grep 11880
where 10880 is the listening port for MFT Server Management Service, and 11880 is listening port for REST web service.
To verify that MFT Server is running,
enter: ps aux | grep mft_server
If MFT Server is not running, navigate to the MFT Server log file:
/opt/mft_server/var/log
Enter:
cat server0.logto display the contents of the file.
See also
Accessing the user interface - MFT Server Manager This is the web-based application used to configure and manage MFT Server.