Microsoft Azure Data Lake Gen2 trading partner
This trading partner exchanges data with a Microsoft Azure Data Lake Gen2 service. MFT Server will initiate the connection to the Microsoft Azure Data Lake Gen2 trading partner. It is assumed that the Azure Data Lake Gen2 administrator has provided you with the details needed to set up this trading partner.
Adding the Microsoft Azure Data Lake Gen2 trading partner
In the desired domain, navigate to the AUTOMATION > Trading Partners module. Click on the Add button, or right click anywhere in the grid area and select Add from the pop-up menu. In the Add Trading Partner dialog window, select Microsoft Azure Data Lake Gen2 as the Protocol, then click OK. The Add "Microsoft Azure Data Lake Gen2" Trading Partner dialog will appear as depicted in the image below.
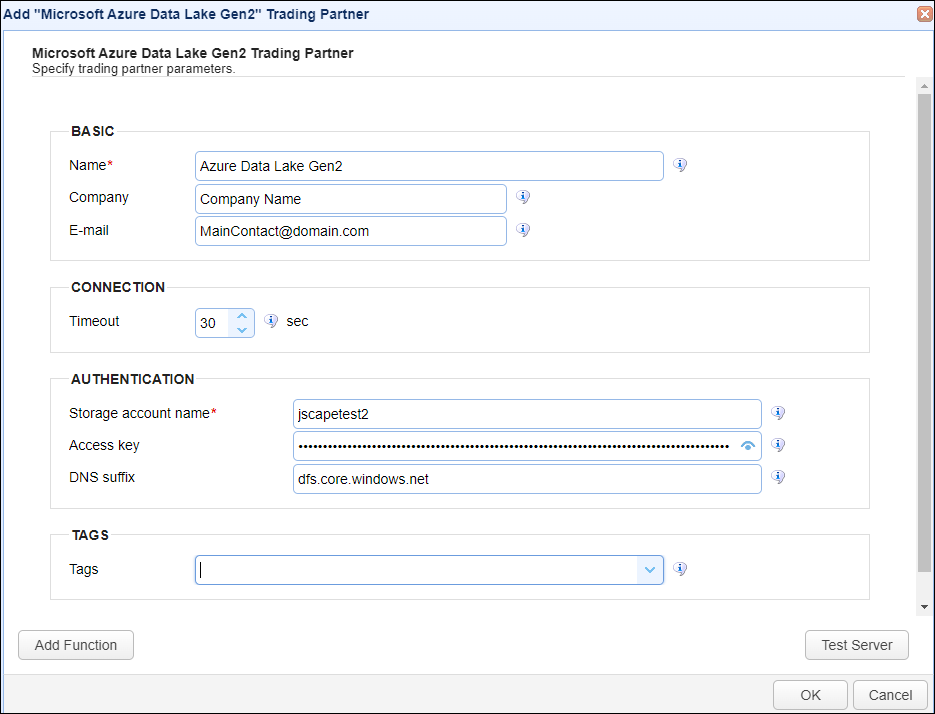
Basic
Name - The unique name to assign to this trading partner. Enter a name that best describes the trading partner, as you will be selecting the name when using the partner in MFT Server features that support it.
Company - The name of the company that this trading partner represents.
E-mail - The primary email address for this trading partner.
Connection
Timeout - The maximum time (in seconds) for establishing a connection to the remote service.
Authentication
Storage account name - The storage account name for the Microsoft Azure Data Lake Gen2 remote service.
Access key - The access key for the Microsoft Azure Data Lake Gen2 remote service.
DNS suffix - The DNS suffix for the Microsoft Azure Data Lake Gen2 remote service.
Tags
Tags - If specified, this is the one or more tags that are used to limit which administrators have access to this trading partner.
Example using the Microsoft Azure Data Lake Gen2 trading partner in a trigger action
Triggers are created on the domain-level in AUTOMATION > Triggers. Triggers listen for events (e.g., a file upload) and respond with actions. There are many trading partner-specific trigger actions. This example does not provide all the steps when creating a trigger; it describes how a trigger action would be configured using the Microsoft Azure Data Lake Gen2 trading partner. For a complete discussion about triggers, see Adding triggers.
Assume, when a trigger event occurs, you would like a file to be automatically uploaded from the MFT Server to the Microsoft Azure Data Lake Gen2 trading partner.
To accomplish this, you would need to add an action to the trigger, in the Trigger Actions area. The action to add is Trading Partner File Upload as depicted in the image below.
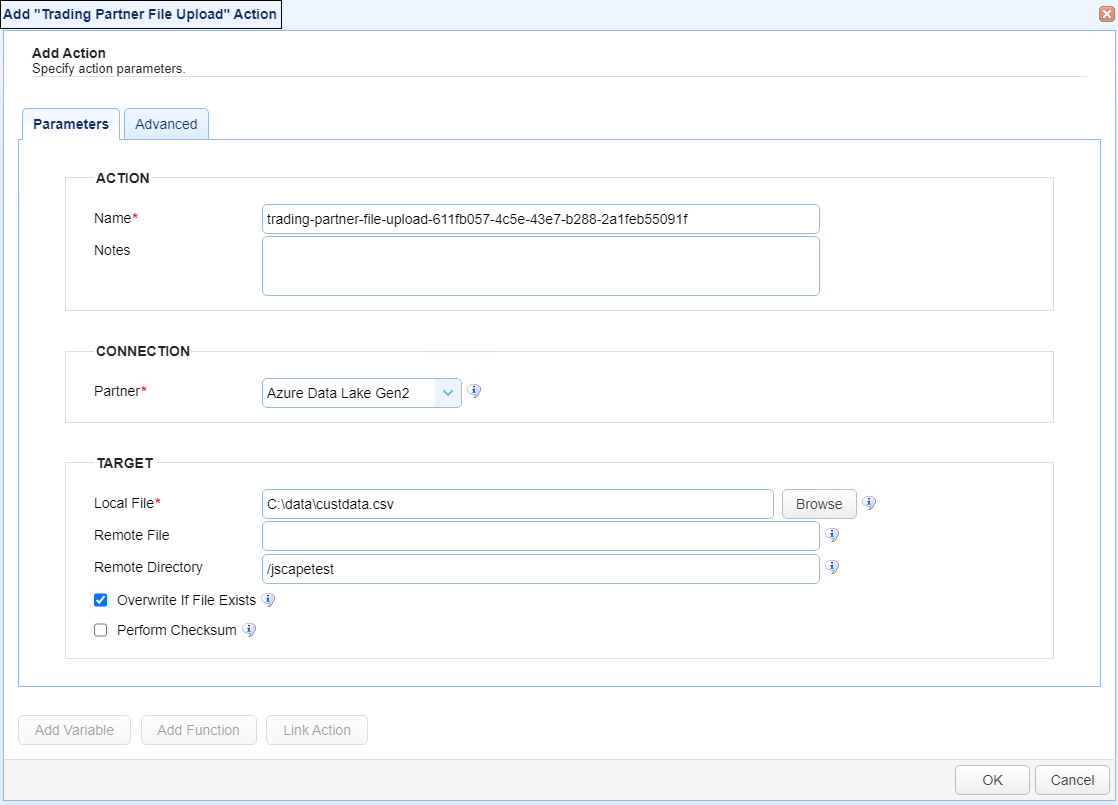
Name - The Name of the Action. The system-generated default value (as depicted in the image above) can be changed to a more user-friendly name, if desired. The Name field can be specified as the input parameter when using the GetActionResult function. For backwards compatibility, the GetActionResult function still supports using the system-assigned Action ID as the input parameter.
Notes - This field is used to describe the action.
Both the Name and Notes fields are displayed as a tooltip when you mouse over an action node in the Trigger Actions canvas area.
Partner - This is the trading partner name. A list of existing trading partners will appear in the dropdown list for you to choose from.
Local File - This is the local file on the MFT Server to upload to the Azure Data Lake trading partner.
Remote File - This is the file name to upload. This optional field allows you to specify an alternative remote file name (one that is different from the source file name). You can specify the file's full path, or just the file name. If only the file name is specified, then the user's root path is used as the location to upload the file. This field's value takes precedence over the Remote Directory field. The Remote Directory field is ignored when the Remote File field is being used.
Remote Directory - This field specifies the remote directory to upload the file to in the Azure Data Lake storage. It is only used when the Remote File field is blank. When used, the remote file path is constructed using the remote directory name and the source file name.