Administrators
To manage administrative accounts, navigate to the Settings > MANAGER SERVICE > Administrators > Administrators tab. A grid displays one or more administrative accounts. Administrators manage the MFT Server environment by creating various services, Trading Partners, Users, Groups, etc.
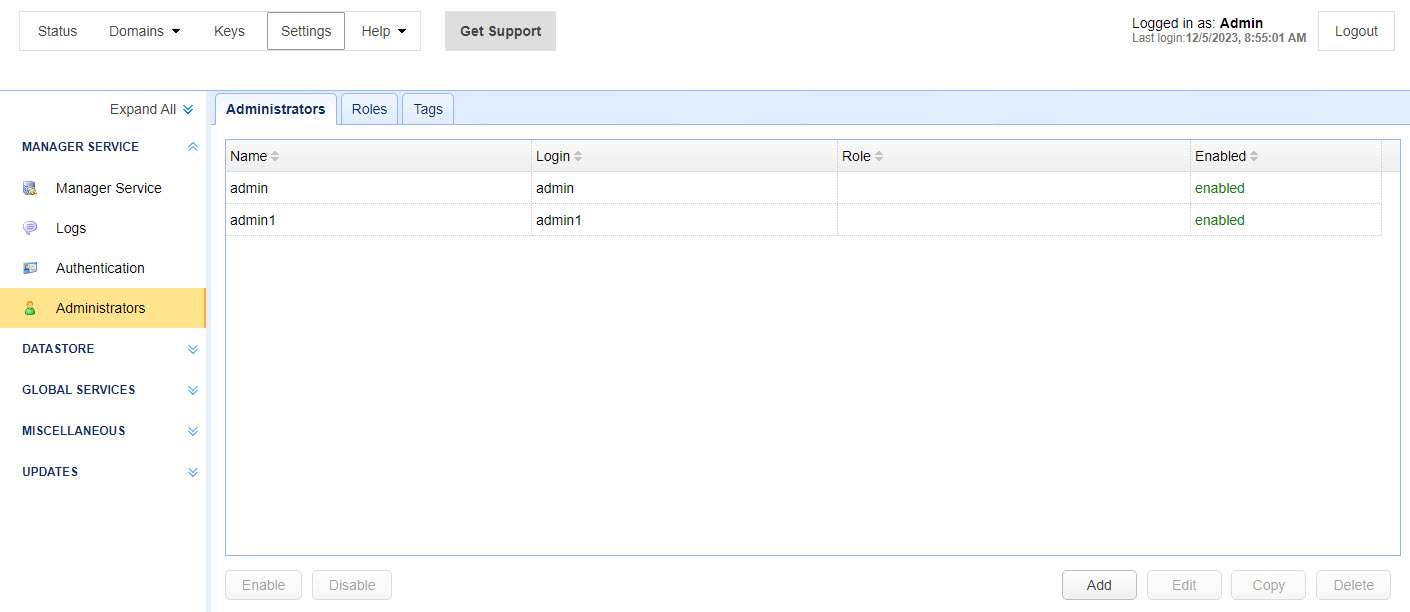
The Administrators grid, as shown above, consists of the following columns:
Name — Identifies the administrator's name.
Login — Identifies the administrator's unique login.
Role — Identifies the administrator's role.
Enabled — Identifies if the administrator is enabled. If so, the administrator is allowed to log in to the MFT Server Manager.
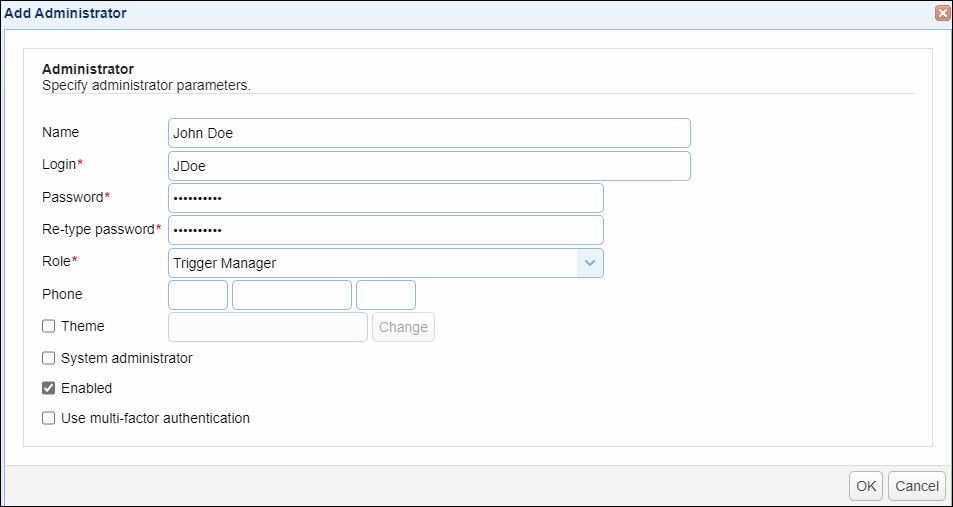
Name — Identifies the administrator's name.
Login — Identifies the administrator's unique login.
Password — Identifies the administrator's password.
Role — Identifies the administrator's role. If no role is selected, the account must be designated as a System administrator.
Phone — Identifies the administrator's phone number.
Theme — Identifies the theme applied to the MFT Server Manager application (excluding the log in page) for this administrator.
To change the application theme for the administrator, click on the check box to the left of the Theme field, then click Change. A theme panel displays on the right-hand side of the page. The theme panel displays Custom Colors at the top of the panel, followed by all the preset themes, displayed in individual boxes, that you can select.
Selecting a preset theme with no color customization:
In the theme panel, click on the box of the desired preset theme. After making a selection, the MFT Server Manager theme updates temporarily and displays the currently selected theme - allowing you to preview it before committing to the change. When you find a theme you like, click anywhere outside of the theme panel, which reverts the MFT Server Manager back to its current theme (until you save and log out/in). You will also see your currently selected theme updated in the Theme field. To save your theme choice, click OK, or alternatively click Cancel to discard the selection. If you save your selection, you must log out of the MFT Server Manager application, then log back in again to see the change take effect.
Selecting a preset theme and customizing it:
This option is used to customize one of the preset themes available in the theme panel. First, select a theme that you would like to customize. Next, access the Custom Colors section of the theme panel and determine which item(s) you want to change (e.g. Panel text, Panel border, etc.). Click on the color box associated with the item you wish to customize. Select the desired color from the displayed choices. After you are satisfied with your one or more color customizations, click Set Custom. After doing so, the theme panel is removed, the Theme field displays the name of your selected theme followed by "custom" - e.g. metro-gray (custom), and the MFT Server Manager application theme reverts to its current theme (until you save and log out/in). Click OK to save the custom theme or click Cancel to cancel the theme change. If you save your selection, you must log out of the application, then log back in again to see theme take effect. If the customized theme field is later modified and replaced with a new theme (customized or not), the prior customized theme (no longer in use) returns to its original (default) preset color scheme.
Settings > MISCELLANEOUS > Web > REST is used for the MFT Server Manager log in page (for all MFT Server Admin users). In addition, this theme is also used as the default theme for the MFT Server Manager application when the individual administrator's Theme field is empty.
System administrator — If selected, the administrator will have full, unrestricted access. This means all the global and domain permissions described in Managing administrative roles are granted when the System administrator option is selected. If you wish to limit access, do not check this field. Instead, create a role and specify the permissions allowed, then assign the role to the administrator.
Enabled — If selected, the administrator is enabled and is allowed to log in.
Use multi-factor authentication — If selected, the administrator is required to use multi-factor authentication when logging in, providing multi-factor authentication is also set to Time-based One-Time Password. See Settings > MANAGER SERVICE > Authentication > Multi-Factor Authentication to set this field.
Select an existing Administrator account in the grid. Click Edit, or right-click and select Edit from the list. The same fields as described above display in the Edit Administrator dialog. There are two additional options when editing an account, described below.
1. Change Password. This button lets you change the account's password. When clicked, you are prompted to enter the current password, followed by a new password twice.
2. Reset TOTP Key button. This button is enabled when multi-factor authentication is selected. When clicked, a shared secret key must be provided to a TOTP application the next time the Administrator performs a log in, providing multi-factor authentication is also enabled for TOTP. See Settings > MANAGER SERVICE > Authentication > Multi-Factor Authentication.
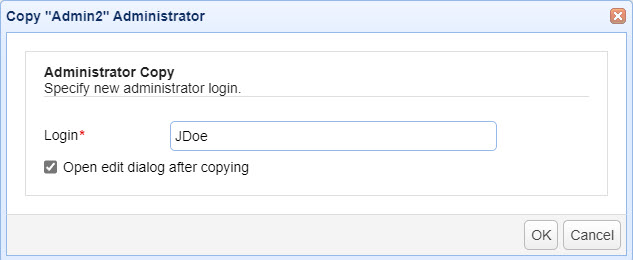
Select an existing Administrator account in the grid. Click Copy or right-click and select Copy from the list. This will create a new account using the information from the copied account. See the Copy <Admin Name> Administrator dialog below.
Enter a unique Login name. If you uncheck the Open edit dialog after copying, then click OK, all the information about the selected account is copied to the new account, including the password. The new account displays in the grid after clicking OK.
If you want to edit the copied account, keep the Open edit dialog after copying checkbox checked, click OK, resulting in Administrator's edit window opening, allowing you to make your changes.
Select an existing Administrator account in the grid. Click Delete or right-click and select Delete from the list. Click OK when prompted, to confirm the deletion. This deletes the account.