Microsoft Entra example using OpenID Connect for user access
Microsoft supports OpenID Connect (OIDC) through its identity platform. MFT Server supports Web SSO OpenID Connect using this platform. This example offers detailed, step-by-step guidance on setting up the application through both Microsoft’s and MFT Server’s interfaces. When complete, an MFT Server user will be able to log in to the MFT Server Web Client using Microsoft Entra and OpenID Connect. The images provided under the Microsoft Instructions are taken from the Microsoft Entra admin center UI. Most images are snippets and not the complete page.
MS Entra ID Instructions
First, access the Microsoft Entra admin center.
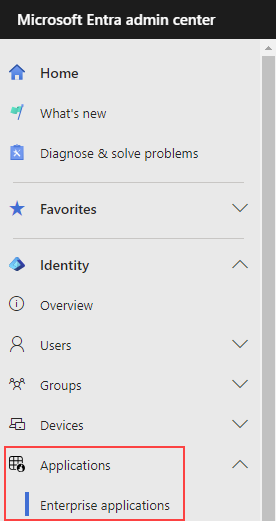
1. Navigate to Applications > Enterprise Applications.
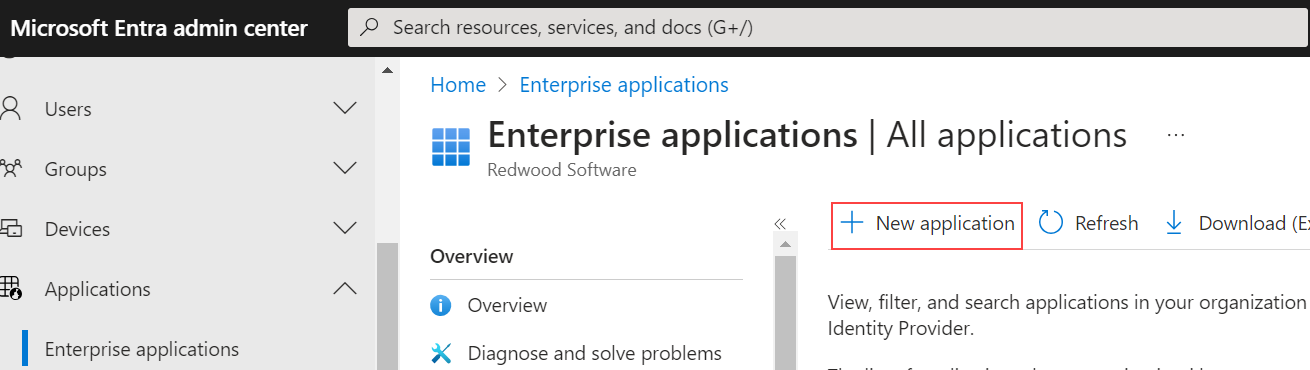
2. Click on New application.
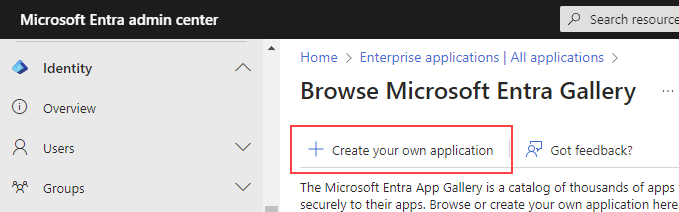
3. Click on Create your own application.
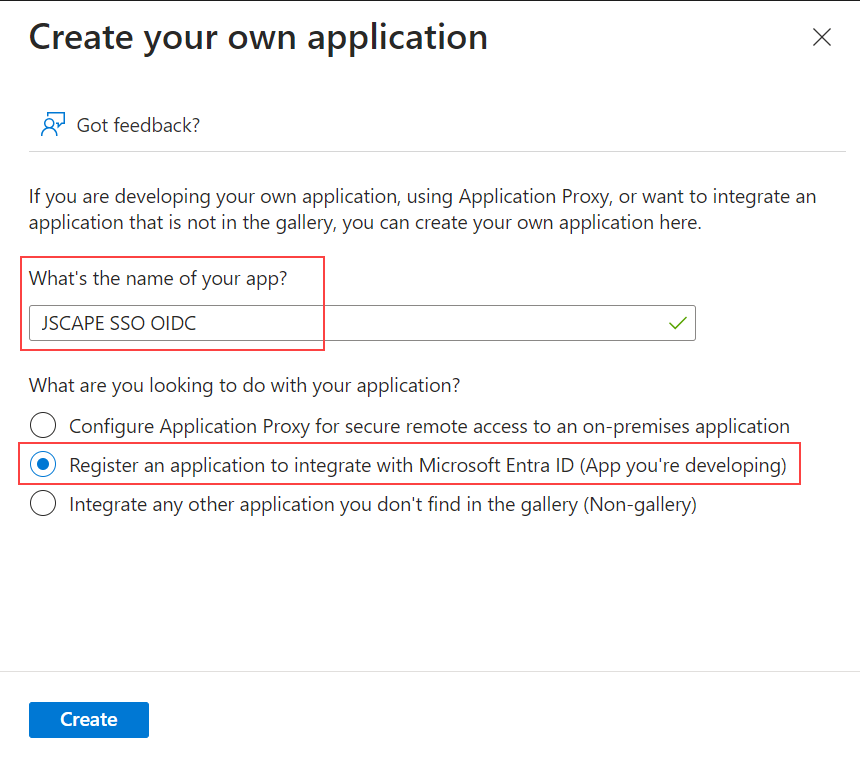
4. Enter an application name in the What's the name of your app? textbox, then choose the Register an application to integrate with Microsoft Entra ID (App you're developing) radio button, then click the Create button.
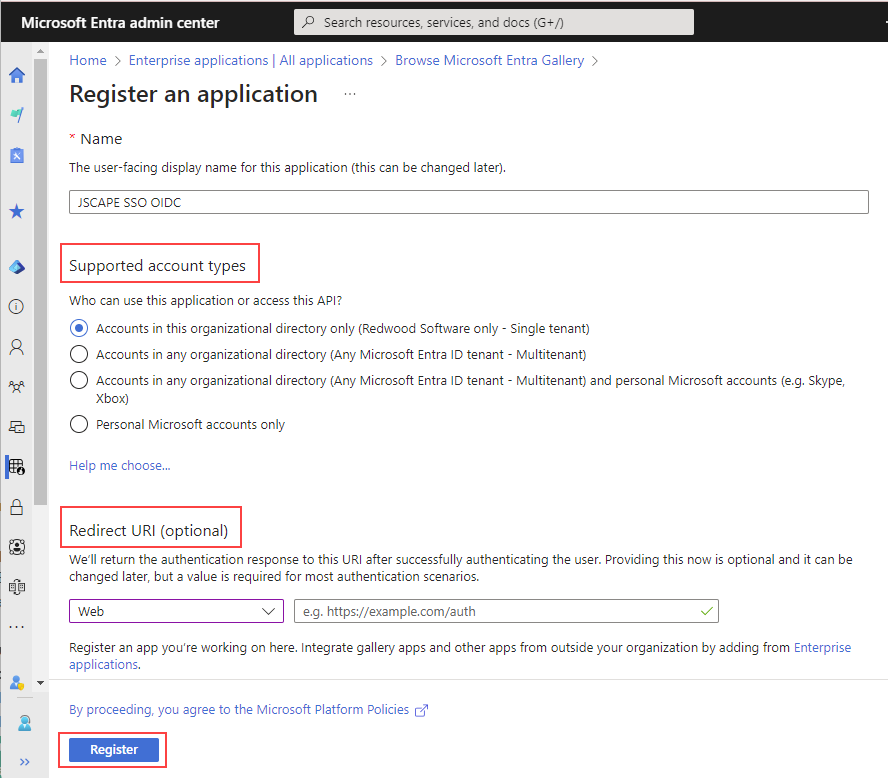
5. On the Register an application page, choose the appropriate Supported account types (who can use this application or access this API).
For the Redirect URI (Optional), select Web from the Select a platform dropdown, then enter the Web SSO login page for your MFT Server - i.e. https://jscapehost/sso/thedomain/login. Replace domain name, hostname and port accordingly. Click on the Register button. A notification message should briefly appear indicating success if everything works as expected.
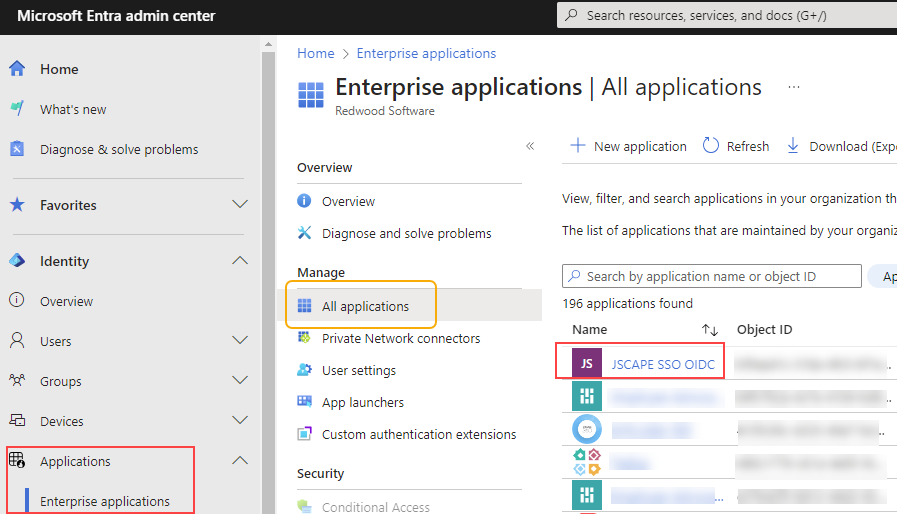
6. Go back to Home > Default Directory, click on Applications > Enterprise applications, then click on the newly created enterprise application.
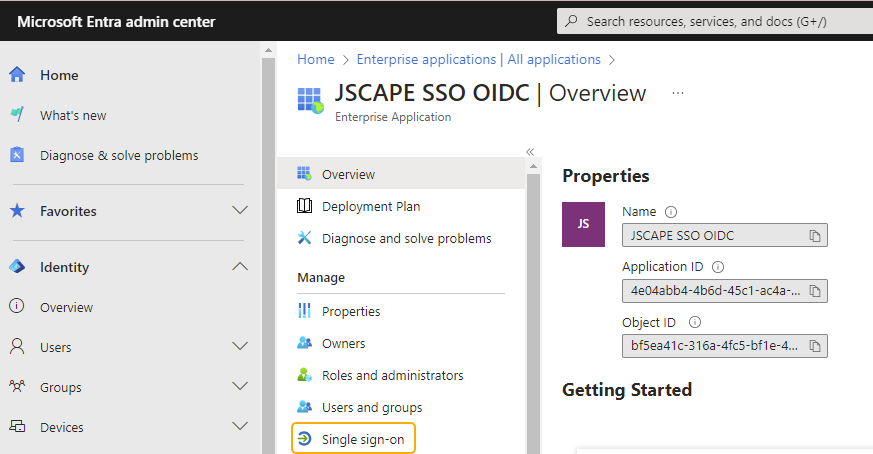
7. Click on Single sign on.
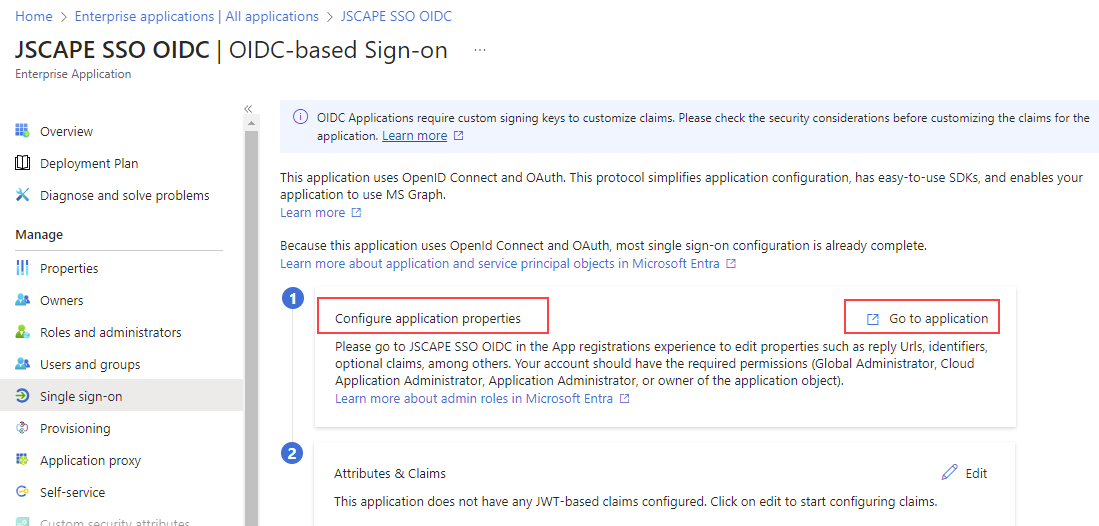
8. On item 1 Configure application properties, click Go to application.
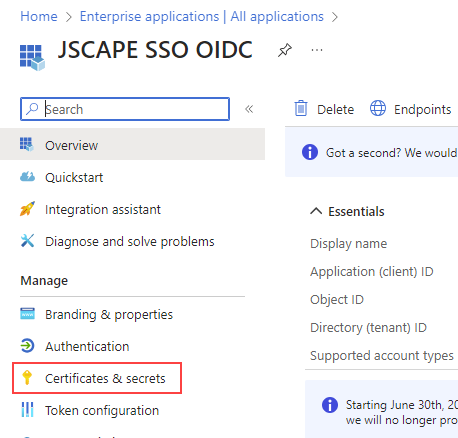
9. Click on Certificates & secrets.
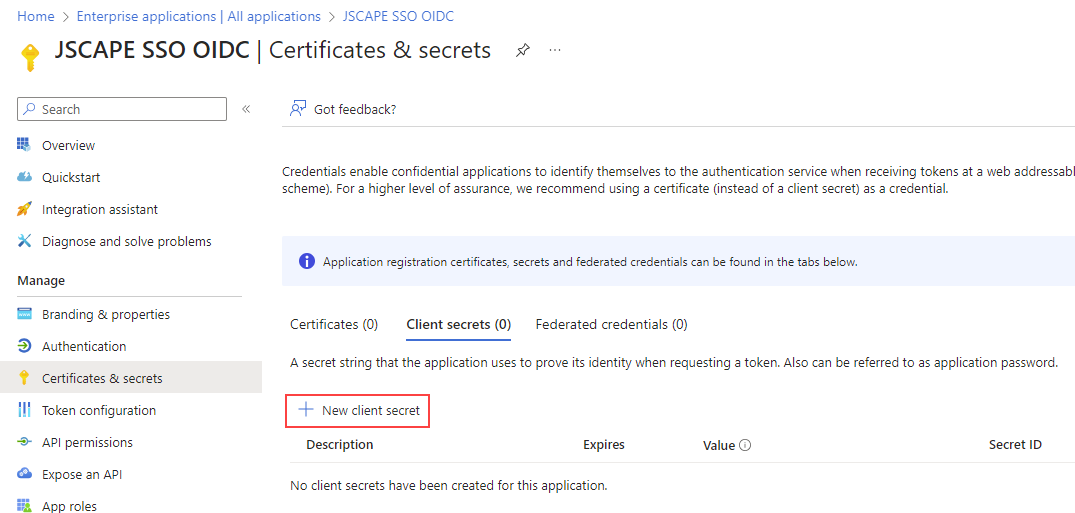
10. Click on New client secret.
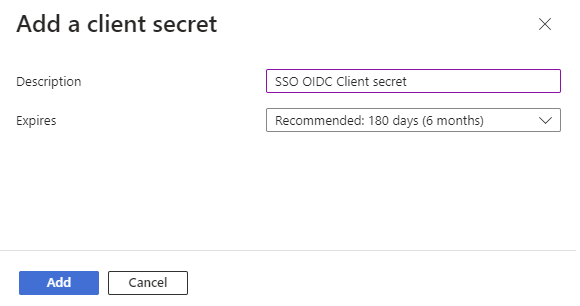
11. Enter a description and choose the expiration setting from the dropdown list of options. Click on the Add button. A notification message should briefly appear indicating success if everything works as expected.
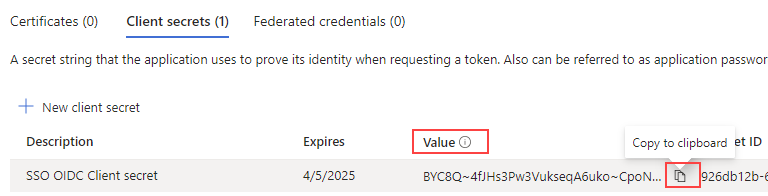
12. Copy the Value field, which is the actual client secret.
13. Click on Token configuration
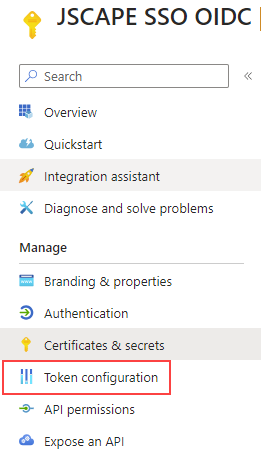
14. Click on Add optional claim

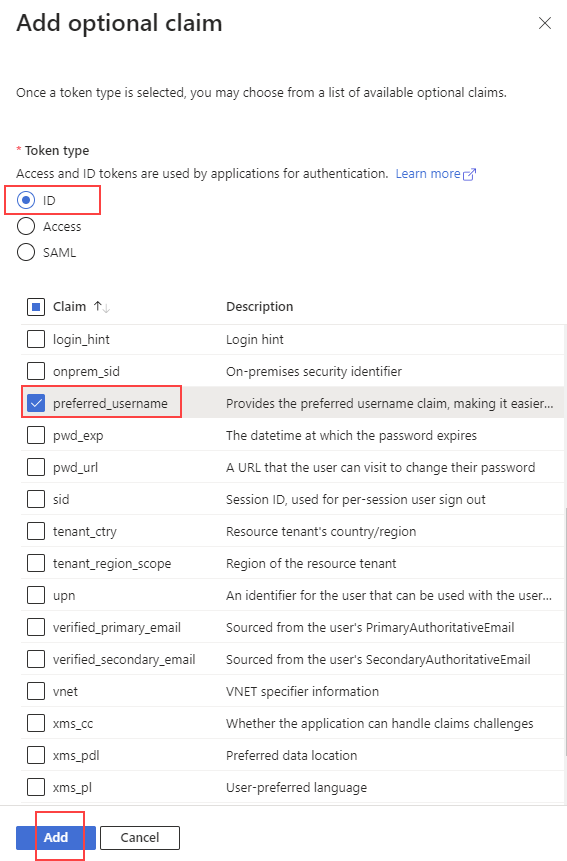
15. Choose ID for Token type, then select preferred_username, then click on the Add button.
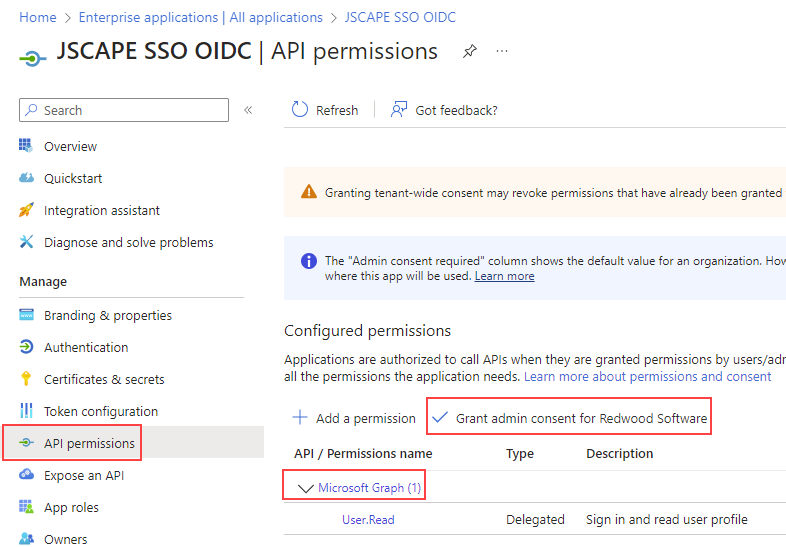
16 .Click on API permissions and click on the Grant admin consent for Default Directory. Confirm Yes when prompted. A notification message should briefly appear indicating success if everything works as expected. The only permission listed here by default is Microsoft Graph with User.Read permission, which is all that is needed.
MFT Server Instructions
Access the desired MFT Server domain and navigate to ACCOUNTS > Authentication > Web SSO tab, then select OpenID Connect from the Service type dropdown field and set the following fields accordingly:
Authorization URL: https://login.microsoftonline.com/<Tenant ID from Azure>/oauth2/v2.0/authorize
Token verification URL: https://login.microsoftonline.com/<Tenant ID from Azure>/oauth2/v2.0/token
Client ID: <the Client ID from Azure>
Client secret: (copied in Step 12 above)
Redirection URL: <should be same as Redirect URI in Step 5 above. Required for MFTSaaS OpenID Connect SSO to work. Can be blank for on-prem MFT Server>
Create user if not found using template - This option, when checked, creates the User Account if it doesn't already exist in ACCOUNTS > Users > Users. This option should be checked. Web SSO is not going to work if this option is not enabled, unless you pre-create the user accounts in the Users module.
Note:
By default, all users are allowed to use the Entra Enterprise app meaning everyone will be able to authenticate and access MFT Server. The Assignment required? option on the enterprise app have to be set to Yes to limit access to specific users/groups. The allowed users/groups will then have to be added under Users and groups page.